Updated By Vinyl Frog On March 27, 2025
How To Remove Window Tint?

Car tinting offers an adequate level of protection against the harmful UV rays of the sun and enhances the aesthetic appeal of your vehicle, but it has an expiration date as well just like everything else. It can easily hold up for seven to eight years, however harsh weather can cut it short. In such a scenario it becomes imperative to remove the window tint but how to do so?
You can remove window tint by using a heat gun or a hair dryer, applying soapy solution and ammonia or just using a razor blade. There are quite a few different methods of doing so and you can choose whichever suits you the best. All these are discussed below exhaustively.
If you let the window tint that has lost its prime cling on for dear life, you'll have unsightly, bubbly windows that will mar the overall look of your vehicle. Let’s see in detail when and how you should remove the window tint in this blog.
When Should You Remove The Window Tint?
The tint on your car windows should be removed for four main reasons, each of which presents its own set of difficulties.

Personal Preference
Even if your windows are in perfect condition, there are instances when you just don't want tinted windows and want to remove the applied tint film completely. Given that the adhesive is likely at its strongest, this can be extremely frustrating. Heat application technique, however, is effective when used on intact tint film.
Bubbling Tint Film
One of the most obvious reasons to remove a window tint is when it starts to be an eyesore. You can easily get rid of bubbles from a window tint unless they are so many that you have to remove the film altogether. If the latter is the case, look on the sunny side, those bubbles mean the adhesive has failed, making removal a breeze!
Discoloration Of The Window Tint
Don't let your car's window tint fool you. That purple hue isn't just a minor glitch. It's a sign that the non-metallic dyes in the tint have broken down, causing it to lose its ability to effectively block UV rays. Heat can be the answer you're looking for to restore your tint to its former glory. However, once the discoloration has occurred, removing the tint may be necessary to ensure your car stays protected from harmful rays of the sun. Don't compromise on your safety and install a new window tint.
The Tint Laws Have Changed
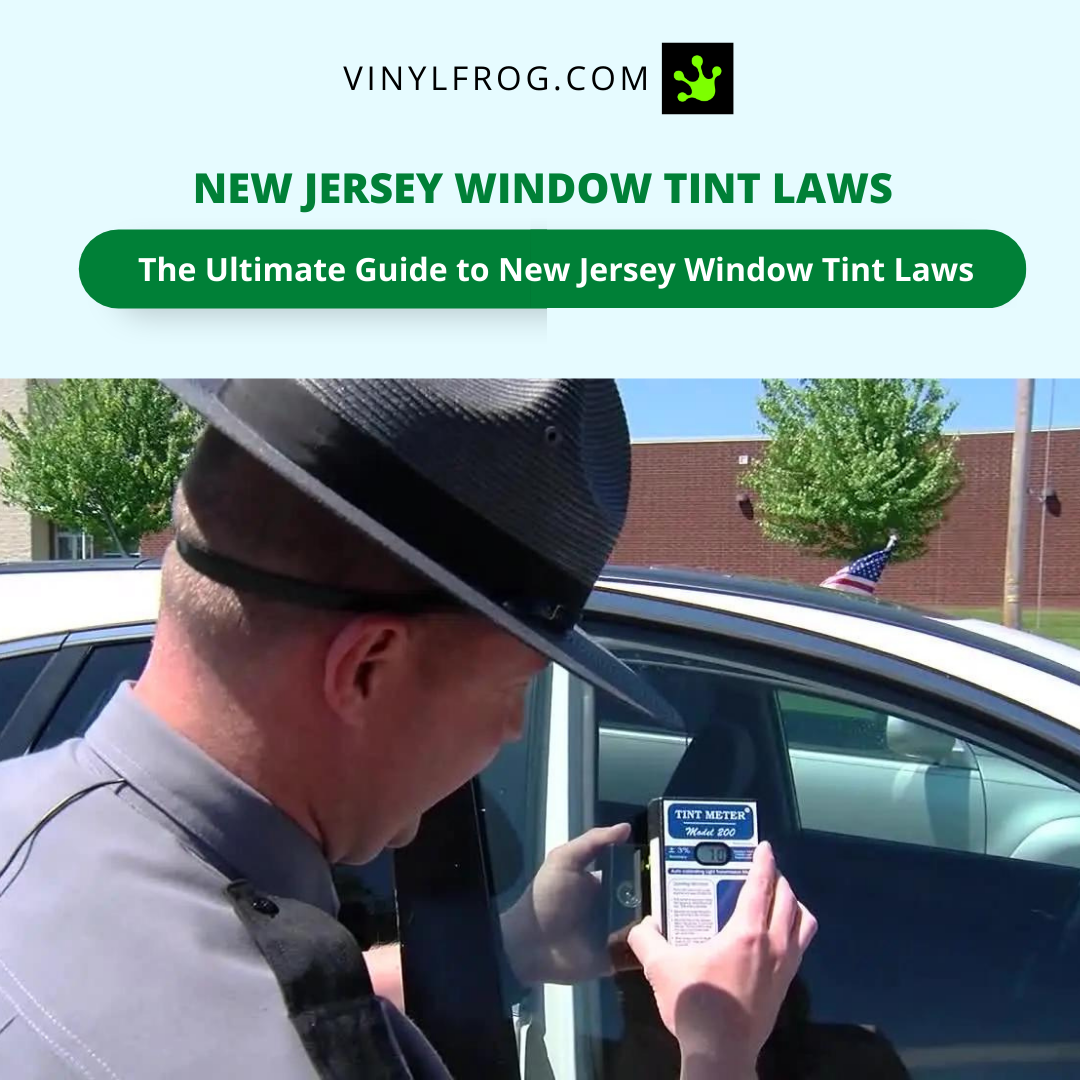
One of the most important factors that you consider when applying the window tint is to check the laws regarding it in your state and in the ones you frequently visit. You would want to remove your window tint if the laws in your state have changed as you would not want to get in trouble with the authorities.
Tint laws differ from state to state. For example, the ones followed in New Jersey might be different from those followed in Virginia, so if you move or purchase a vehicle from another state, you might need to remove the existing tint.
Is Removing Window Tint A Difficult Process?
As long as you have the necessary equipment and supplies, you may relax knowing that the process is typically not difficult. But it's crucial to keep in mind that a number of variables, including the quality of the tint, the installation, and how long it has been on the vehicle, can affect the degree of difficulty.

The tint can be easily removed if you're fortunate enough to begin pulling it off in one piece. However, the process can quickly turn into an absolute disaster if the tint begins to peel or strip off. Be ready with the right equipment and techniques to ensure a smooth removal process, and don't hesitate to seek professional help if you're unsure or stuck.
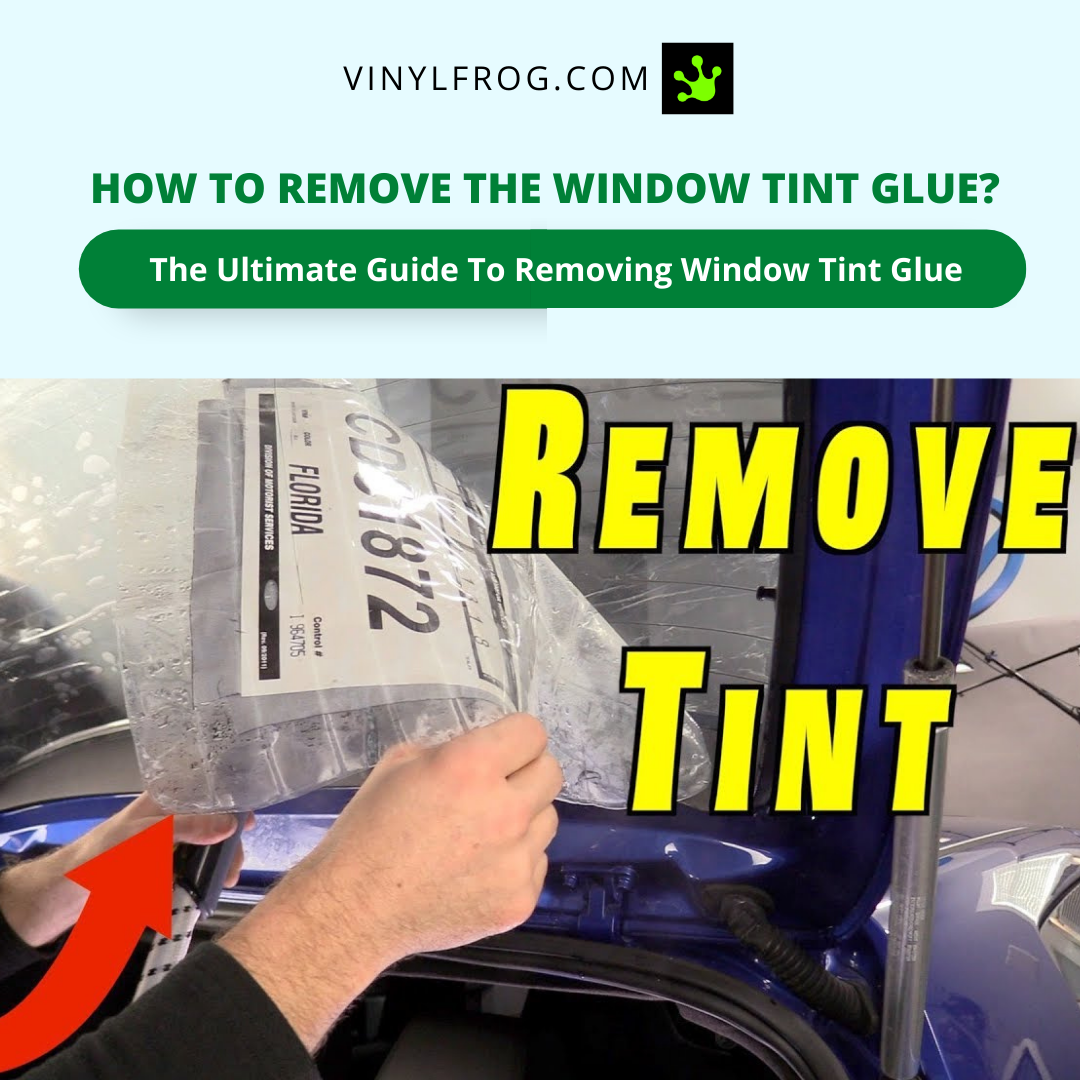
After removing the tint you might even have to deal with the glue residue and remove it. That is another process that can be a bit time consuming. With a bit of care and attention, you'll have your car's windows looking as good as new in no time.
Different Techniques To Remove Window Tint
Below we have mentioned different procedures in detail that can be employed to effectively remove a window tint.
1. Use A Heat Gun Or Hair Dryer
Tools needed:
- Hair dryer or heat gun.
- Mild detergent or dish soap and water solution.
- Spray bottle.
- Microfiber cloth or towel.
- Razor.
When removing car tint, a heat gun or a regular hairdryer work very well. Simply select one of the edges of the tint and perform the following steps:

- You only need a small amount of access at the top border of the window, so roll the window down a bit. Accessing the tint's "lip" in this way makes it much simpler to begin the peeling process.
- Turn on the hair dryer or heat gun at high speed while keeping it approximately two inches far from the car window which will cause the glue behind the tint to melt. Use the hair dryer on the whole window, but concentrate a little more on the edges.
- Use a razor or any pointed item near the edge of the tint to begin peeling it off after the glue has loosened. Be careful so as not to scratch the glass.
- To remove the remaining glue from the car glass, use a fresh towel.
- Finally, wash the glass with a soapy car cleaning solution after the window tint has been removed.
2. Use Newspaper And Soap
Tools needed:
- Old newspapers.
- Mild detergent or dish soap and water solution.
- Spray bottle.
- Non-metallic squeegee
- Razor.

Here’s what you have to do:
- Make a soapy solution in warm water to get things started. Apply the mixture to all of the windows in your car, then wrap them with newspaper so that it soaks up the soapy mixture as well.
- Spray more soapy water on the paper whenever the outside starts to dry out.
- Use a non-metallic squeegee to remove the newspaper after a few hours; doing so will also remove the tint.
- Repeat the process if any of it remains, but make sure you do it in the daytime because the newspaper dries fairly quickly in sunlight and it speeds up the process.
3. Applying Water, Soap, And Ammonia
Tools needed:
- Ammonia.
- Mild detergent or dish soap and water solution.
- Two Spray bottles: One for ammonia and the other for the soapy solution.
- Two black plastic waste bags.
- Razor.
- Mask so as not to inhale the fumes.
- Non-metallic squeegee.
A warm, sunny day can help you out by making your job easier. The trick in this situation is getting beneath the window tint so that the ammonia can do its job. Ammonia will naturally dissolve the adhesive binding the tint to the window. It is imperative to work in a well ventilated area.
- Spray some soapy water over the window's exterior, then cover it using one of the bags and smooth it out until it is flat.
- Cover all nearby interior surfaces for protection since ammonia is pretty strong and can damage the upholstery of your vehicle.
- Wear a mask so you won't breathe in the fumes as you spray ammonia on the interior of the window. Before the ammonia has a chance to dry, wrap it with another trash bag.
- Before removing the bags, give the window at least 20 minutes to heat up in the sunlight.
- Pull up a corner of the film using a non-metallic squeegee and carefully peel off the tint. Reapply ammonia as necessary to keep it moist.
- After removing any remaining tint, apply one of the cleaning techniques listed below to remove the leftover adhesive residue.
4. Nothing But A Razor Blade
Tools needed: Razor blade
All you need is a razor blade to peel off the edge of the tint. You might not need to first release the glue before pulling off the tint depending on how long it has stayed on your car windows and the outside temperature. This is particularly true in the summer, when the heat naturally causes the adhesive to loosen up a little. Carry out this process outside in the sun during the day.
This process can be time consuming and difficult. Even though you might not need to use a heat source or ammonia to dissolve the glue, doing so will always speed things up a bit.

5. Using A Steamer
Tools needed: Simple hand-held steamer. Razor blade scraper.
Using a steamer is one of the most popular techniques to remove window tints from the car.
- Roll down the window a bit.
- Apply steam to the window tint using a simple hand-held steamer. Focus on the edges. This will loosen the adhesive.
- Use a razor blade scraper to get behind the tint and push it down. You have to lift it off the glass and then peel away.
- Once you have lifted the edge, peel down the tint. Try to do it in one piece. If it breaks, you will have to use the razor blade scraper again to lift off the edge.
- Once the window tint is halfway down, roll up the window. Now you have to remove the tint from the bottom portion.
- Apply the steamer again to loosen the adhesive and repeat the process.
- Even the glue that is typically left on the windows after the tint has been removed will come off if you go slowly with this process!
Tips On Window Tint Glue Removal
If you see unsightly glue residue on the window after the tint has been removed, you can get rid of it in the following manner:
Using Isopropyl Alcohol
A bottle of 90% isopropyl alcohol, one of the least expensive and most efficient solvents available, may remove any remaining adhesive with ease. Use this technique in an area with adequate ventilation and avoid inhaling fumes while working. The inside of the windscreen can be cleaned of oily residue as well with isopropyl alcohol.
Applying Goo Gone
This well-known commercial glue remover is excellent at removing old tint glue residue. Be aware that it won't aid in the tint's removal.
Using Acetone (Nail Polish Remover)
You can remove the tint adhesive residue with nail polish remover, cloth, and some elbow grease - a surprisingly effective solvent. Although it takes a little more work, this technique will give your windows a lovely shine.
Simple Old Scrubbing Method
You can remove the tint glue residue by using a squeegee and hot, soapy water on a sunny day or in a warm garage. This approach is not only secure, it also provides an excellent justification for interior automobile cleaning.
Frequently Asked Questions
Removing Window Tints - The Final Word
Don't let a subpar tint job detract from your car's appearance or compromise your safety. Instead, take charge and remove the tint properly to restore your vehicle's sleek look and ensure optimal protection on the road. Whether you go the DIY route or enlist professional help, removing window tint when needed is a worthwhile investment that will pay off in the long run. So why wait? Let's get started on giving your car the tint-free upgrade it deserves!


