Posted By Vinyl Frog  On August 1, 2022

How To Remove Car Wrap

HOW TO REMOVE CAR WRAP

It was a moving speck of gold along the horizon glimmering in the morning sun. Soon, it sped past a multitude of mesmerized spectators – a sedan, wrapped to perfection, shimmering in all its glory like a diamond. A vinyl wrapped vehicle is always a treat to behold but like every other product on the shelf, a car wrap has life duration as well.

After years of winning accolades and providing promising protection to the original paint underneath, the wear and tear on the road and the weather eventually take their toll and damage the wrap. Whether you installed it to give your vehicle a new look or as a marketing strategy to give your brand maximum exposure, there comes a time when it becomes imperative to remove it. Though removing a car wrap is not a tedious task, it requires proper procedure and the right paraphernalia. Here is how you can do it without any hassle. 

Remove car wraps

PREP WITH THE RIGHT TOOLS 

Before you embark upon the task of removing the car wrap, make sure you have the right tools Kit for smooth sailing throughout the process. Following is a checklist:

14 in 1 Wrapping Toolkit Set

14 in 1 Wrapping Toolkit Set

£131.00
13 in 1 Window Tint Installation Tool Kit

13 in 1 Window Tint Installation Tool Kit

£155.00
13 In 1 PPF Installation Tool Kit

13 In 1 PPF Installation Tool Kit

£163.00
VinylFrog 15-in-1 Branded Merch Accessories Set

VinylFrog 15-in-1 Branded Merch Accessories Set

£448.00

Plastic Scraper: 

You have to get under the vinyl wrap to lift it up and for this you need a plastic implement so that the paint underneath is not scraped or damaged. A plastic scraper, spatula, squeegee or a razor blade easily gets under the wrap and lifts it away from the body work. Do not use metallic tools such as a screwdriver to pry off the vinyl as it might prove to be highly abrasive. 

Black & Pink & Green PPF Squeegee for Car Vinyl Paint Film Installation

Black & Pink & Green PPF Squeegee for Car Vinyl Paint Film Installation

£8.00
View Details

Blowtorch Or A Heat Gun: 

It is imperative to heat the wrap before removing it. A blowtorch or a heat gun does this job for you. It melts away the adhesive making it easier to remove the vinyl wrap. 

Adhesive Residue Remover: 

After the wrap is removed there is bound to be some residue left on the body, but this is nothing to be worried about. There are many mild solvents available that will easily clean it in one sweep. Use the brand that will work best with your particular car wrap

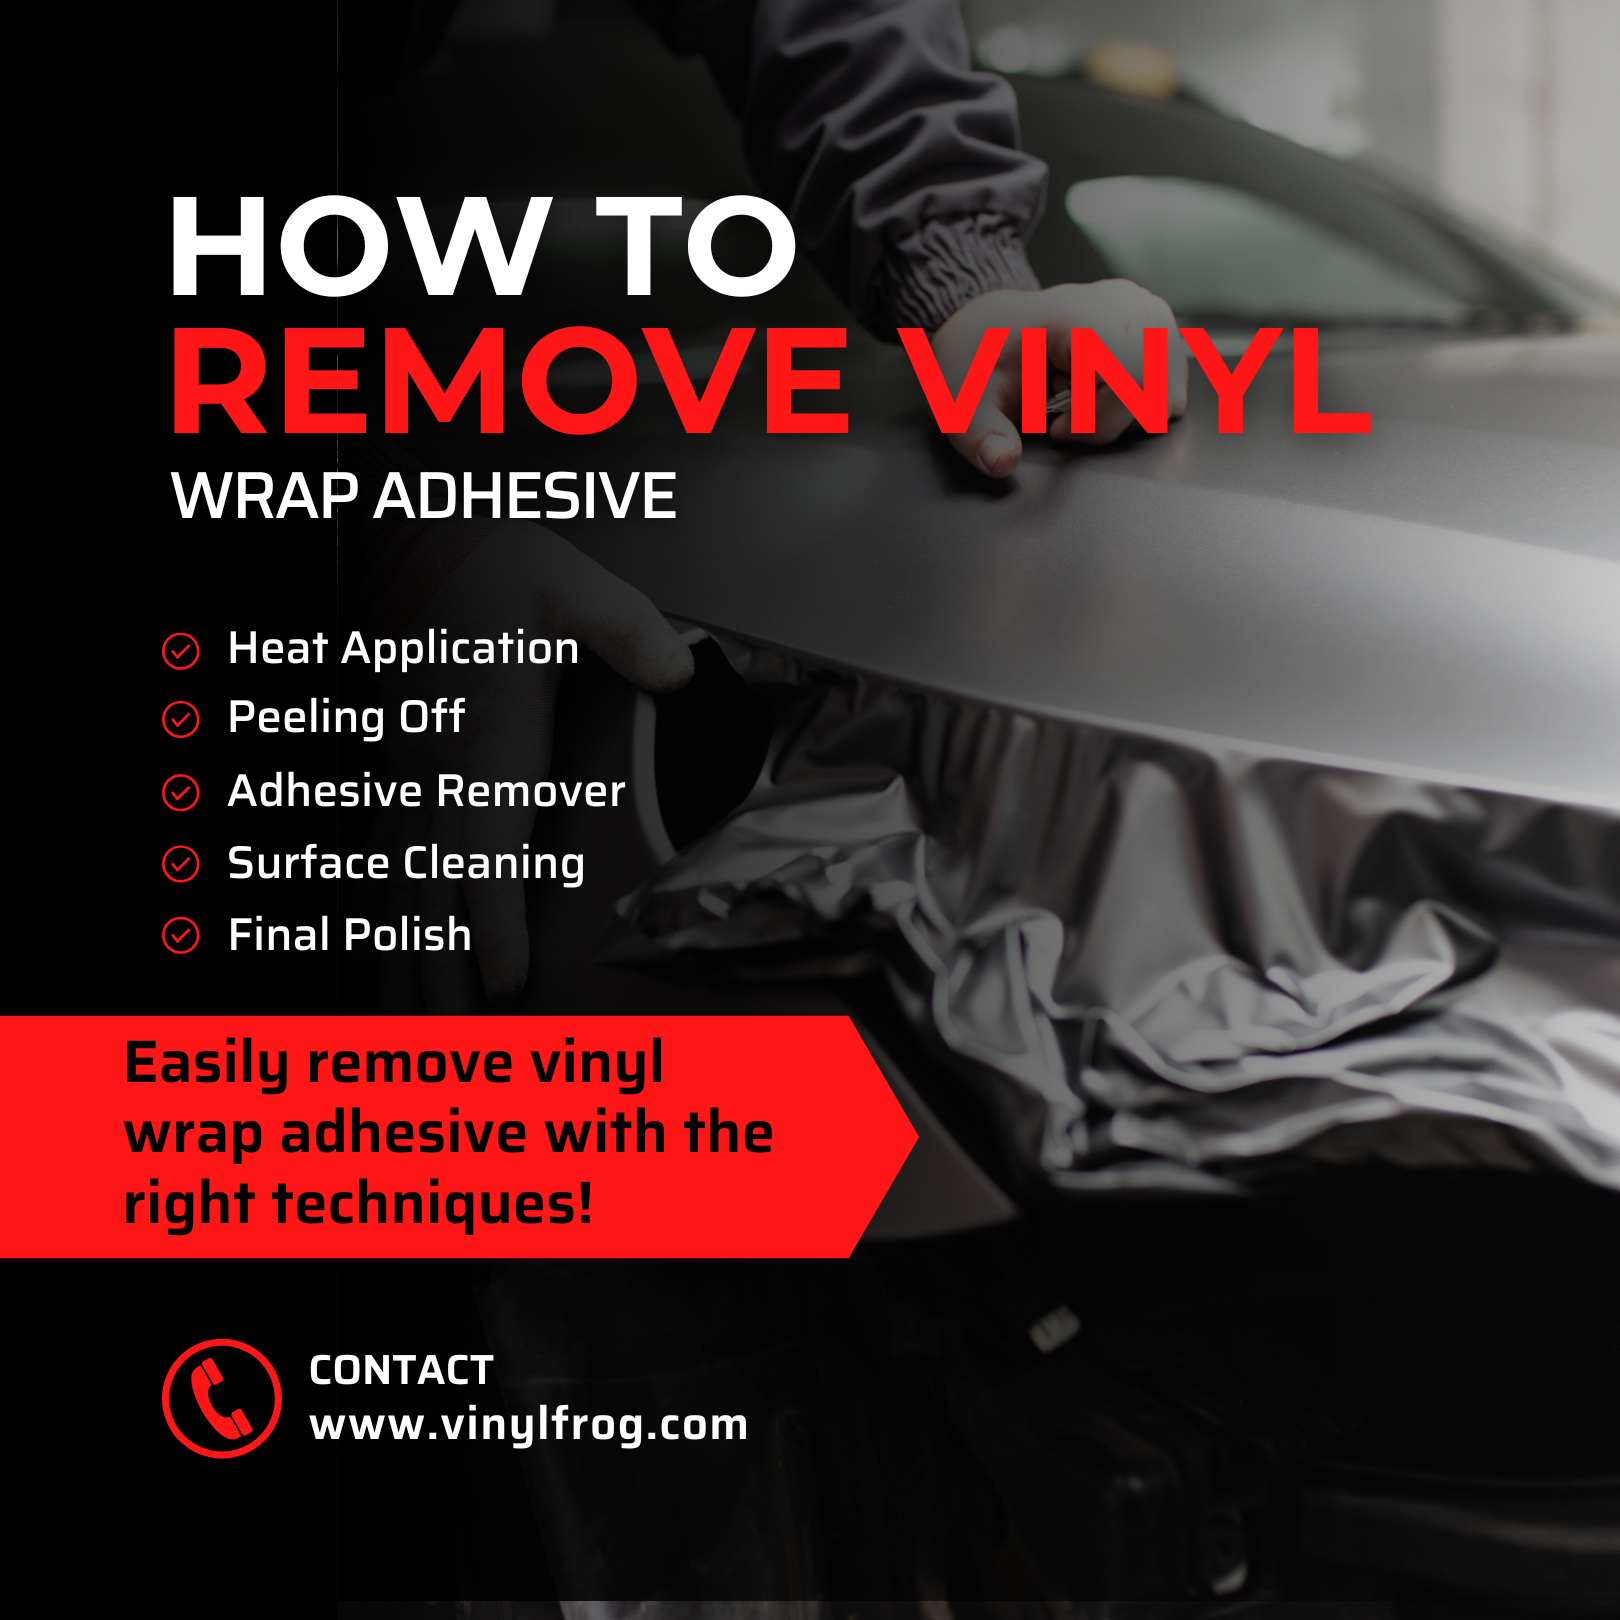
How To Remove Vinyl Wrap Adhesive?

How To Remove Vinyl Wrap Adhesive?

Sep 16, 2022 Vinyl Frog

Spray Bottle: 

A spray bottle is specifically required to apply the adhesive remover on the body of your vehicle. This will make spot cleaning easier and less time-consuming. 

Cleaning Solution: 

After the job is done you will need a cleaning solution such as rubbing alcohol, or water and mild detergent to finalize the whole process.

Cloth And Paper Towels: 

Keep a microfiber towel or rag handy for multiple uses throughout the process.

Goggles And Gloves: 

Personal safety comes first. Wear goggles and gloves during the whole process to avoid any mishap and protect yourself from dust, debris and chemicals.

VinylFrog Cut-Resistant Glove

VinylFrog Cut-Resistant Glove

£9.00
View Details

METHODICAL CAR WRAP REMOVAL 

Once you have all the tools ready, you are good to go. Removing the car wrap is a time consuming process. You have to move slowly and work in small sections as you pull the wrap off so it does not tear and the job is done accurately. It is advised to load up on patience and perseverance before beginning. 

REMOVE CAR WRAP

Review The Weather 

Working in the right environment is the key to getting the wrap removed effectively. Avoid adverse weather conditions. Your job will get much harder if it is cold outside. This might rip the vinyl into smaller pieces making it difficult to remove. It is also difficult to remove adhesive residue in cold weather. Having said that, it is not advisable to work in direct sunlight too as this will make the adhesive strongly adhere to the vehicle making it difficult to remove. Work in a garage or a shaded area for best results.

Prepare The Vehicle

Get your car ready for the process. Make sure it is clean before you begin. It is better if you wash and dry the vehicle completely. A clean exterior will make the process easier. 

REMOVE CAR WRAP

Lift The Edge

Once your car is ready and you have found the right place to remove the wrap, it is time to get down to work. Find the edge of the wrap along the seams such as around the trunk, hood or doors to create a starting point. It is suggested to start from the hood as it is easier to remove the vinyl from it. Slide your plastic tool (scraper or squeegee) under the edge of the vinyl wrap to lift it slightly. Once this is done, you move on to the next step. 

Heat The Wrap

In order to lift the vinyl wrap easily, you will have to heat it. This makes the vinyl material more malleable and slackens the adhesive underneath. You can either use a heat gun or a blowtorch to do so. Once you have lifted the edge a bit with a scraper, keep the heat gun 5 to 6 inches away from the vehicle and apply heat. The temperature should not be more than 50°C or 120°F.

REMOVE CAR WRAP

 In order to distribute the heat evenly, it is advised to move the heat gun back and forth. This will also prevent a single spot from getting over-heated which can make the vinyl blister or burn. Door jams and sharp contours may require more heat as there are struts welded into the body in these areas. Take care not to heat areas of the vinyl that are covering chrome. While heating, slowly and gently tug at the vinyl to see if it is coming off easily. If it does come off in one piece, you are on the right track and ready to move on.

Peel And Remove The Wrap

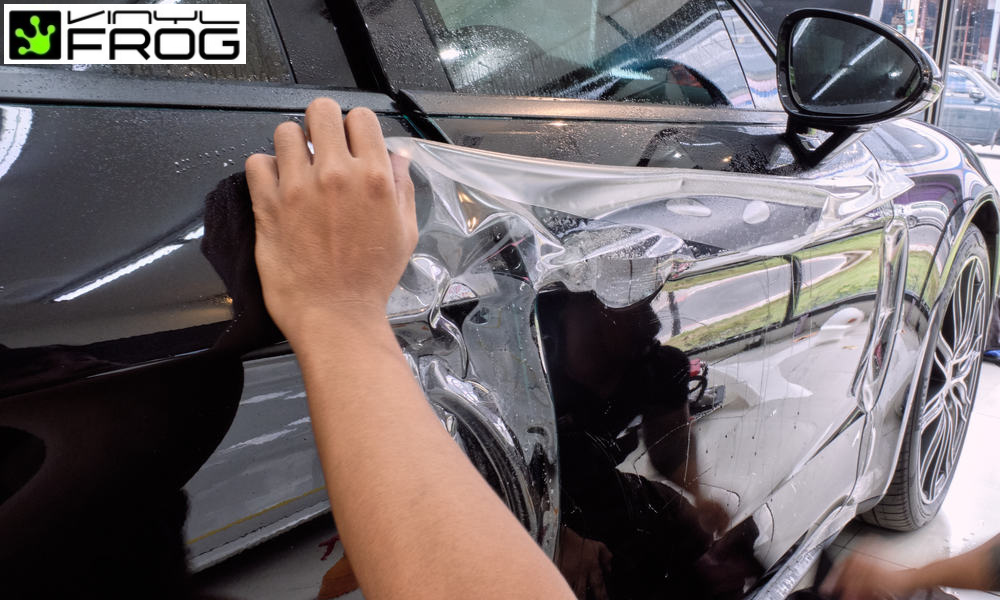
Once you have heated a section, firmly grab the edge then peel and remove the wrap slowly and gently. For best results, pull the vinyl out at an angle of 15° to 20°. Put even tension across the vinyl with one hand by spreading your fingers.
REMOVE CAR WRAP

On the other hand, pull down gently to add leverage as more and more vinyl comes off and the area you are removing becomes bigger. Do your best to lift off the wrap in a single piece so it is easier to remove. Being slow and gentle with perseverance is highly imperative. Do not yank the vinyl. You will have to be extra gentle when pulling the vinyl away from curves and contours. Work methodically from top to bottom, bottom to top or side to side one small section at a time. Do not remove the vinyl haphazardly.

Reheat And Repeat

If you feel that the resistance has increased and the wrap is not coming off easily, it is time to use the heat gun again to soften the adhesive and loosen the wrap. When the wrap cools down, the adhesive sticks to the body of the vehicle again. Reheat it starting from the edge. Repeat the heat and remove process throughout the body of the vehicle. While peeling off, make sure that the temperature, pulling pressure, angle and speed is consistent for easy removal. 

Glossy Metallic Silver Lake Blue.
Glossy Metallic Silver Lake Blue Vinyl Wrap
Glossy Metallic Silver Lake Blue.
Glossy Metallic Silver Lake Blue Vinyl Wrap
Glossy Metallic Silver Lake Blue.
Glossy Metallic Silver Lake Blue Vinyl Wrap
Glossy Metallic Silver Lake Blue.
Glossy Metallic Silver Lake Blue Vinyl Wrap
Glossy Metallic Silver Lake Blue.
Glossy Metallic Silver Lake Blue Vinyl Wrap
Glossy Metallic Silver Lake Blue.
Glossy Metallic Silver Lake Blue Vinyl Wrap

Glossy Metallic Silver Lake Blue Vinyl Wrap

£481.00
View Details

Remove The Residue

Once the wrap is completely removed from the vehicle, it is time to clean the leftover adhesive and residue from the body. Through proper heating ensures that not much of the adhesive is left behind, complete elimination is not possible. You will need a chemical adhesive residue remover for this. It is important to find the right one for the job that will not cause abrasion.

REMOVE CAR WRAP

Spot test your adhesive remover before using on the whole vehicle. Try it on a small, hidden area first to ensure it does not damage the surface. Once you have ensured that you have the right product, put it in your spray bottle, mist it over the surface and let it rest for one minute. It should soak in to slacken the residue. Use the plastic razor blade or squeegee to scrape the residue away, then wipe the remainder with a paper towel or a microfiber rag moving it back and forth applying pressure to the affected area. Once you are done with the process, your vehicle should not be sticky. It should feel smooth to touch. 

Clean As A Whistle

It is time for the final step and that is washing or cleaning your vehicle thoroughly to remove the chemical. Whether you use soapy water to do the job or rubbing alcohol, it is your prerogative. Once it is done, a shiny vehicle with impeccable, well-preserved paint is ready to behold. 

Lastly And Most Importantly

How smooth and easy the process of vinyl removal is depends on long you have left it on your vehicle. A quality vinyl wrap lasts, on average, about 5-7 years. If you leave it for a long time, it becomes sunbaked and brittle, and the adhesive residue will be more difficult to clean off. If you notice cracks on your vinyl wrap, it is time to get your tools together, wear your goggles and gloves and start removing it. 

Frequently Asked Questions

Glossy Metallic Midnight Purple Vinyl Wrap

Glossy Metallic Midnight Purple Vinyl Wrap

£481.00
View Details

Related Posts