

Updated By Vinyl Frog On May 10 2024
How To Wrap Different Car Parts

Different car parts can be wrapped to perfection individually. Bumpers, side skirts, and wing mirrors—all of them need special attention when wrapping. Here’s how to go about it.
Your car is not just a vehicle, it symbolizes your status and personality and is an essential asset whose appearance is of utmost importance. To give it a fresh, new look, you can wrap different parts of your car in various colors, finishes, textures, and patterns.
Why Should You Wrap Your Car?
There are a number of reasons why one should wrap their car, the first one being that it allows you to customize the appearance of the car however you please.
Whether you want a simple chrome finish or an intricate decal adorning your bumper, you can do it all. The best part is that vinyl wrapping your car allows you to choose between full or partial coverage too.

Secondly, car wrapping advertisements on your vehicle have become an up-and-coming way of getting brand recognition and attracting many customers.
A more common reason people choose to wrap their cars is for protection. Vinyl wraps help safeguard them from wear and tear and harsh weather conditions and maintain their resale value.

Advertising Car Wraps
How To Vinyl Wrap Car Parts?
There are two methods to wrap cars: one involves wrapping the whole exterior in a single vinyl film and the other is partial wrapping. Partial wrapping entails applying wrap on only certain parts of the vehicle. The choice is yours. The process is slightly different from a full-wrap application.
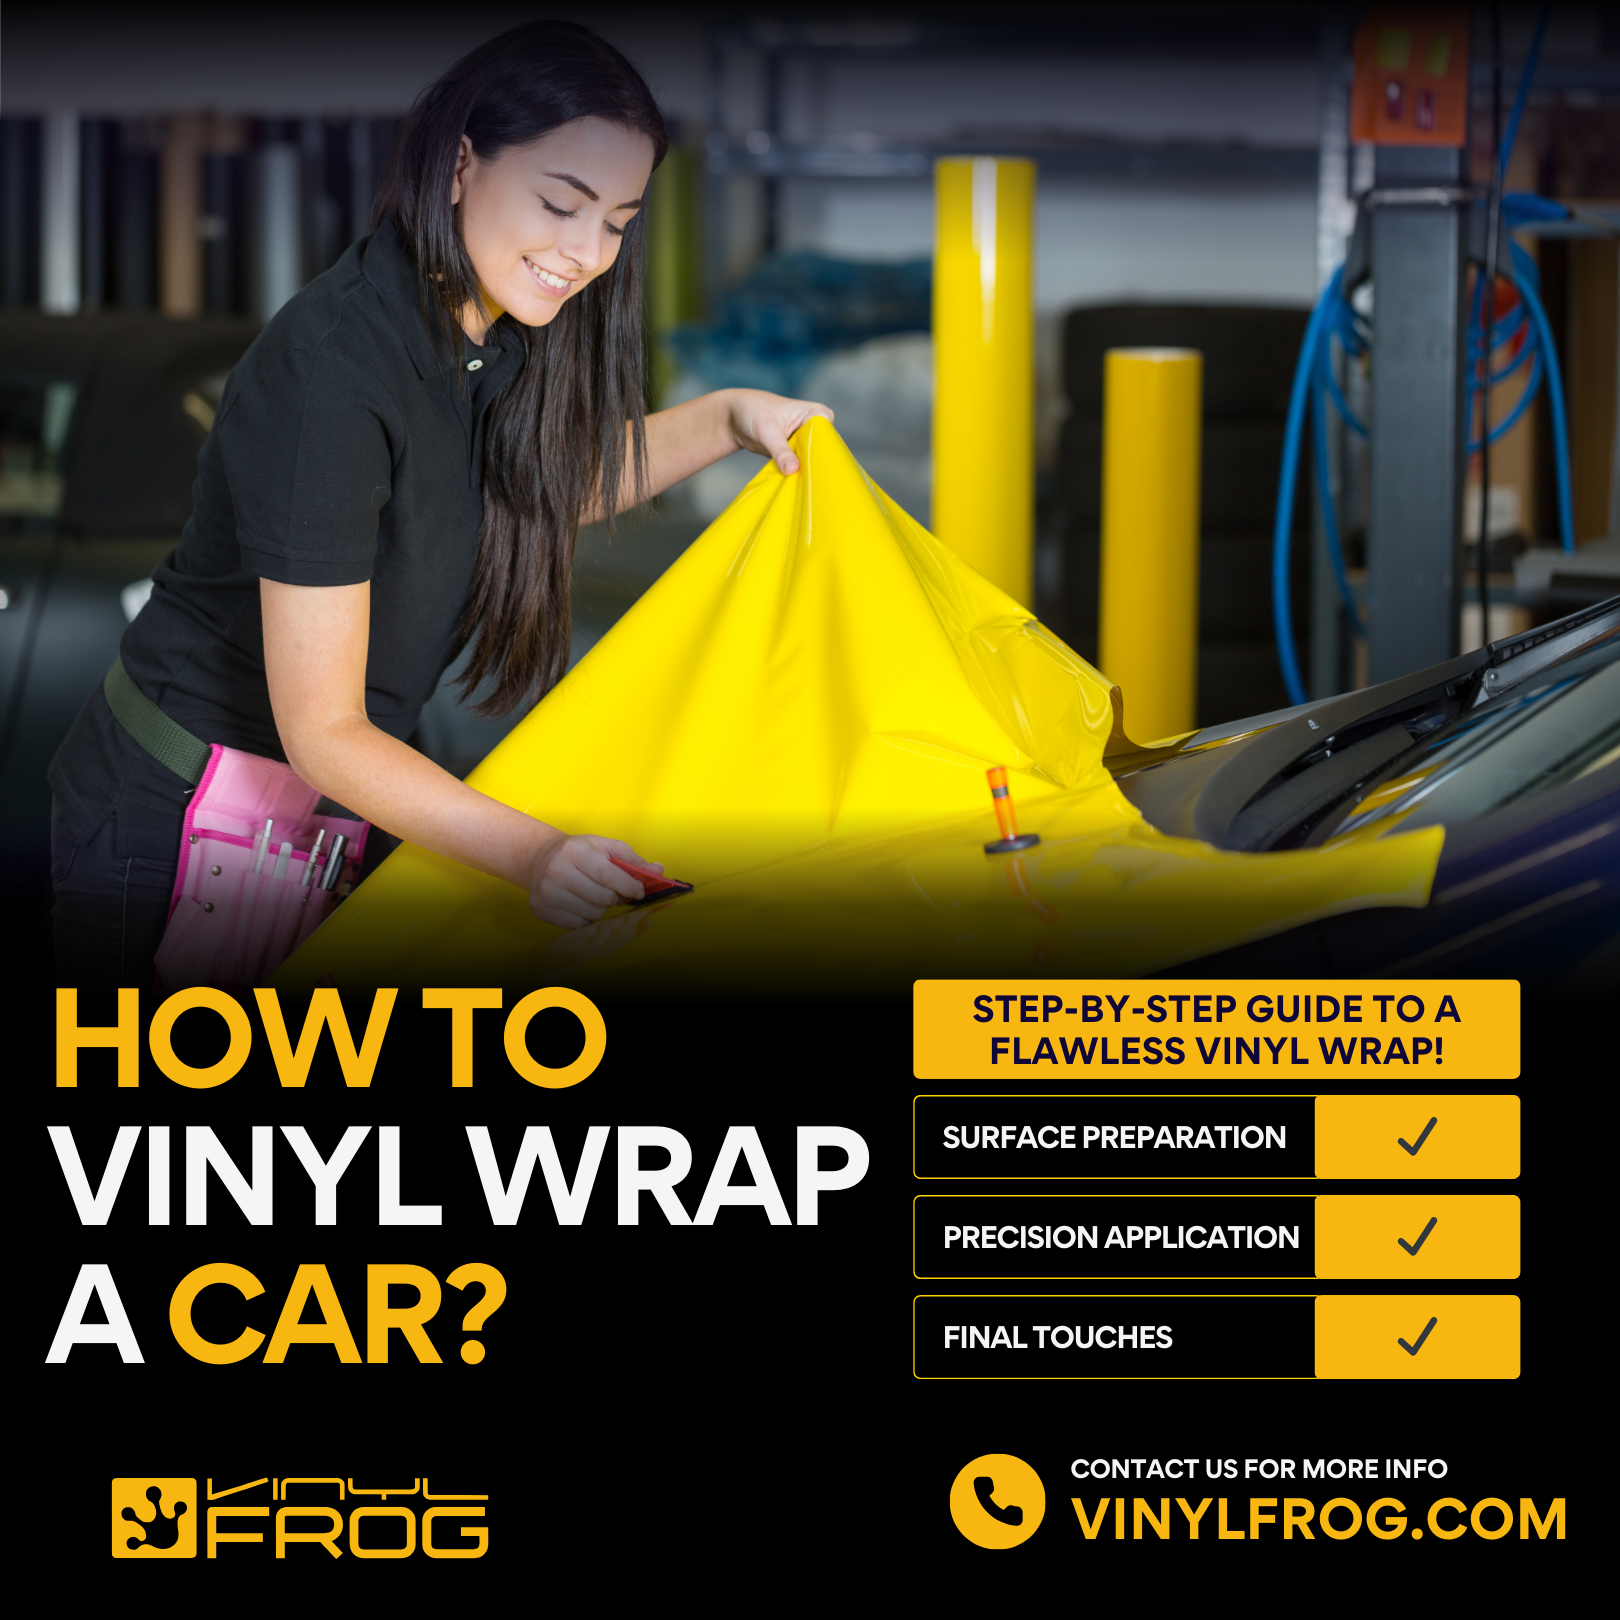
How To Vinyl Wrap A Car?
Note a few pointers before starting the process.

- Before you start wrapping, make sure to properly measure the vehicle’s surface where you wish to apply the vinyl. Dimensions are important to gauge the amount of vinyl required. This will also prevent wastage.
- The vinyl will always be cut slightly more than the dimensions for a smooth wrapping procedure around the edges.
- Next, it is extremely important to meticulously clean the car and make sure no dirt, debris, or car wax can pose a hurdle against the adhesion of the wrap.
- Keep the necessary tools handy for an unhindered process such as a squeegee for removing air bubbles and creases; a heat gun to ensure strong adhesion; surface cleaner to clean the exterior; microfiber cloth; small magnets for positioning the wrap; blade to remove excess wrap after installation, and tape measure for exact dimensions.
Let’s look at a few car parts that you can wrap and how to go about it.
Door Handles
The best way to start your wrap application process is to remove the part from the rest of the car body. This allows you to properly wrap the part which in this case is the door handle. Cut out two generous pieces of vinyl wrap to cover the front and underside of the handle.

Next, remove any seal or plastic covering and if possible, remove the key barrel as well and thoroughly clean it using a microfiber cloth and alcohol. Let the handle dry completely, then using sandpaper smooth out any imperfections in the paint. You now have a clean slate to work with.
Apply the wrap on the handle and smooth it down using a squeegee. Tuck the wrap on the undersides and smooth it out to make sure there is no bubbling. Then, trim any excess vinyl from the surface and use a heat gun to mold the vinyl to the surface. The door handle is now ready to be installed back in its place.
Door Panels
To get a perfect job done, remove the door panel from the rest of the car body. Remove the handles from the panel too to avoid any hindrance. The cleaning process is also the same. Just make sure there is no dirt or any scratches on the surface that can obstruct the wrap adherence.

Since the door panel has a larger surface area, the vinyl required for it is greater. Measure the length and width of the panel and cut your vinyl accordingly leaving a slight margin. This margin will allow you to easily wrap every nook and corner over the panel.
Smooth the vinyl over with a squeegee and then use a heat gun to seal it properly. Once you have completed the process you can reinstall the panel to its place.
Bumpers
A bumper is tricky because it is such a vast area so it is better to wrap it section by section rather than as one whole piece. Break up into smaller working sections and wrap accordingly.
Apply heat on the contours of the car to make sure it adheres properly. You can go over the wrapped vinyl with a squeegee to reduce bubbling and using a knife cut off excess vinyl.
Bumper Vinyl Wrap
Wing Mirrors
Wrapping your car’s wing mirrors adds a contrast to your vehicle which makes it stand out from the crowd. Simply, remove the mirror, clean thoroughly, and apply the vinyl wrap.
However, before applying the vinyl, tape the mirror itself to allow for ease of application. Lastly, apply heat over the vinyl with your heat gun to seal the wrap and activate adhesion.
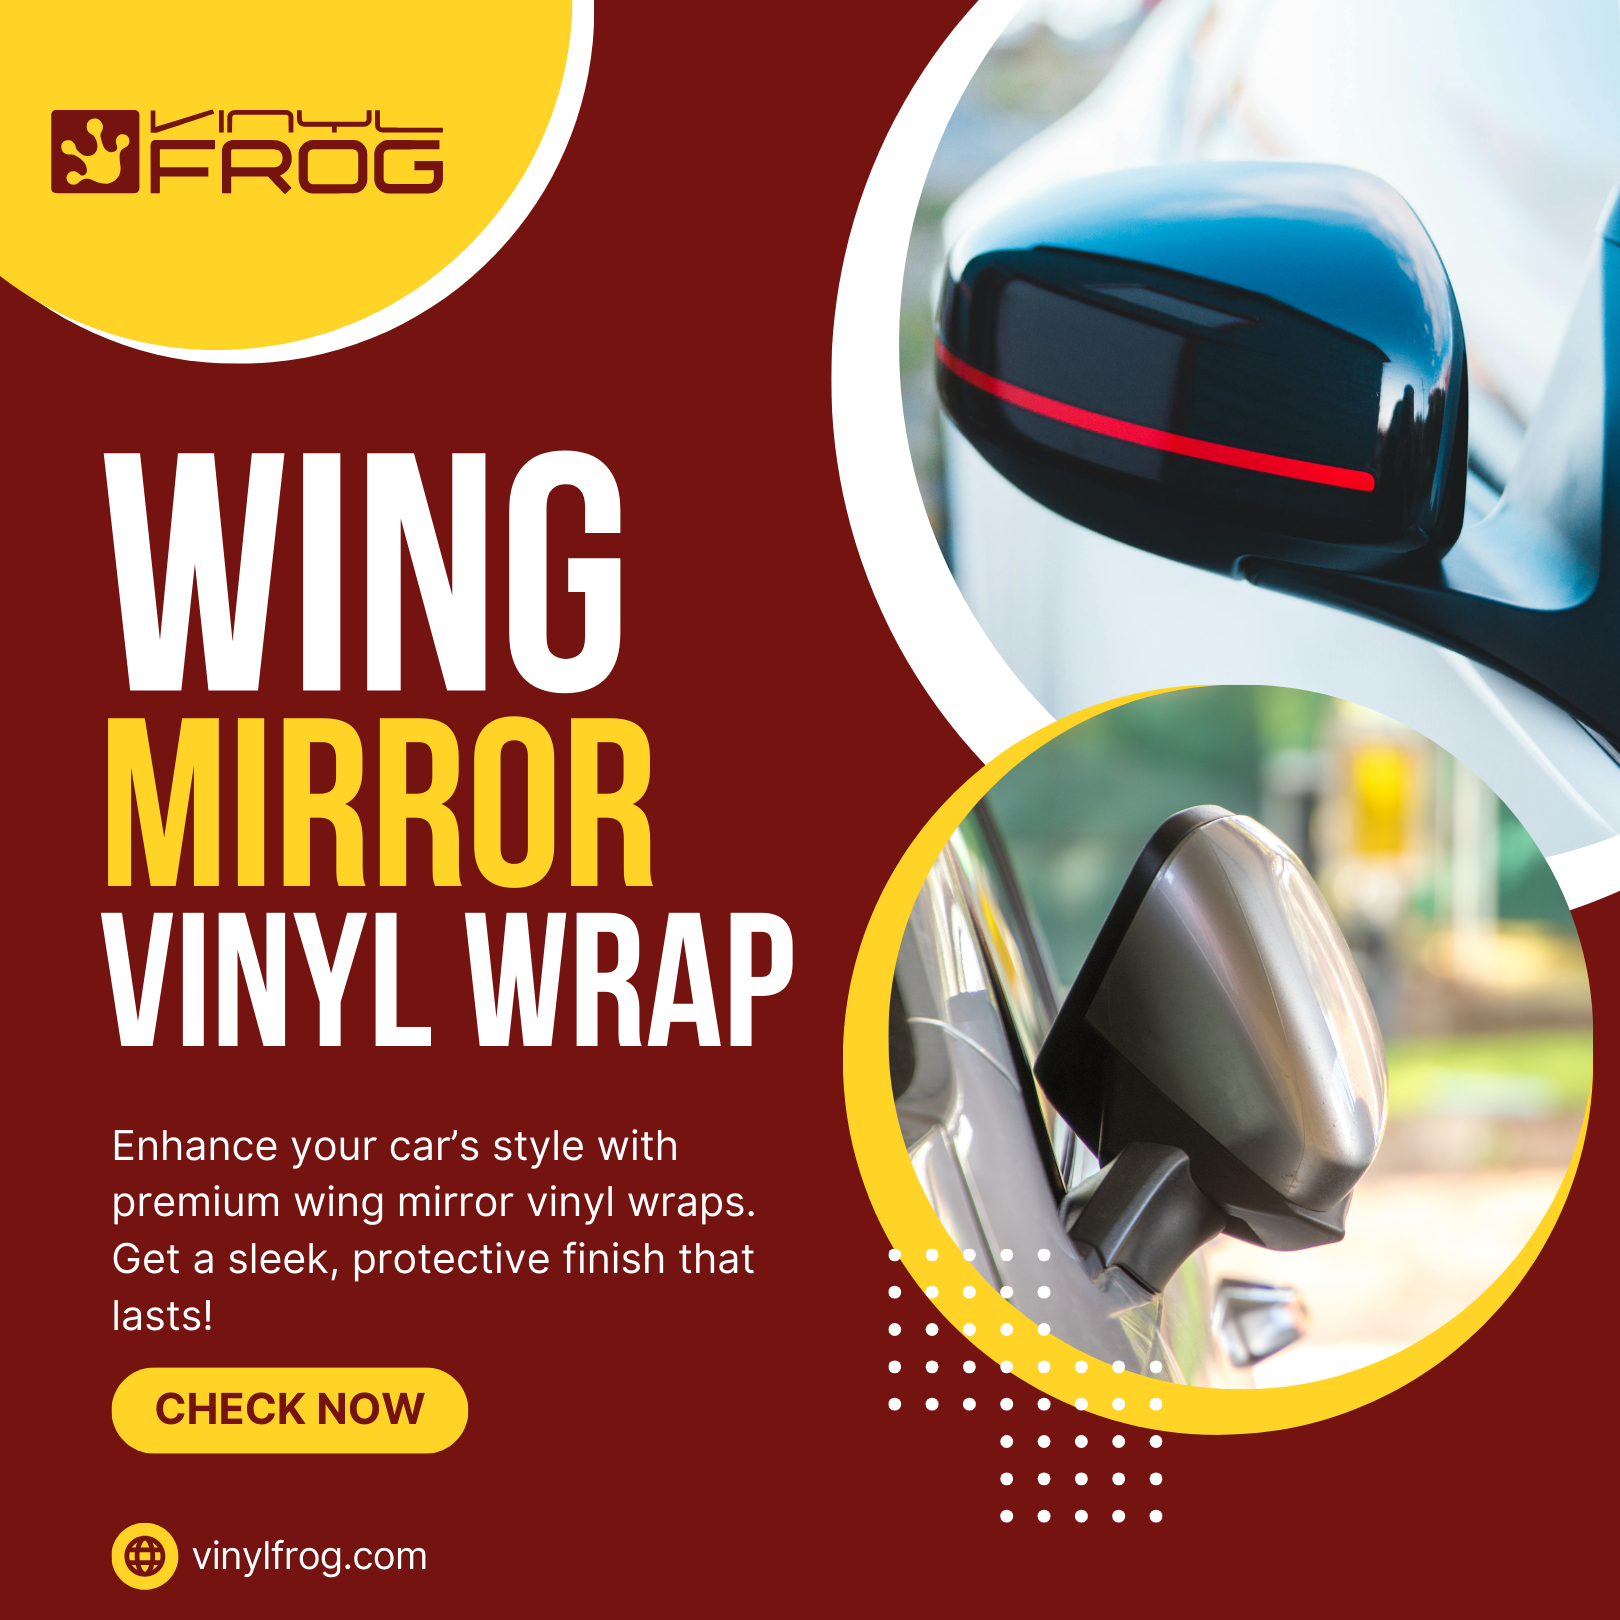
Wing Mirror Wraps for Cars
Side Skirt
Side skirts are a popular car part to personalize with vinyl decals or wraps as they give an edgy look. To start, remove the side skirts and any screws, and clean the outside and inside properly. Smooth out the surface and measure it.

Cut out an appropriate amount of wrap using the measurements. Lay the side skirt flat and apply the wrap. Hold down the skirt using any heavy object, so it is properly positioned.
If there are any curves or edges, you can make cuts in the vinyl so it does not look rough. Seal the vinyl in place using a heat gun and you are done!
How To Wrap Plastic Car Parts?
You can wrap plastic car parts by using high-quality vinyl and ensuring careful installation. The process is the same: thorough cleaning, application of vinyl, and applying heat for adhesion.
If it is a big plastic part like a bumper with a complex shape, wrap it in sections. It might take longer to wrap but the final look will be perfect.

However, keep in mind that vinyl will not stick to plastic for as long as it does to your car’s other metal parts. Wraps can stay on metal car parts for a long time, but when applied to plastic, you may need to change the vinyl after every few months. You will have to take care of the following:


")
- The plastic has to be smooth and non-porous for the wrap to adhere. This means if your bumper, for example, is made of textured or low-quality plastic, vinyl will not readily stick to it.
- On textured plastic car parts, the vinyl will start peeling off sooner than expected and may even get air pockets damaging the whole smooth and sleek look.
- You will have to change the vinyl more often than that on the metal. Even if the plastic is smooth, you might have to remove its wrap after six to eight months.
- Your vinyl has to be of premium quality with the finest, robust adhesive. This might increase the cost but its performance will be much better provided your bumper or any other part is of the best plastic as well.
- You will not be able to wrap your plastic car part properly if it is damaged in any manner. There should be no cracks or holes in it.
- Also, make sure you do not apply excessive heat to the part with a heat gun. This can damage both the wrap and the plastic underneath.
How To Wrap The Interior of Your Car?
You can apply vinyl to the dashboard, interior trim, and gear console of your vehicle. Follow the procedure mentioned here for perfection:
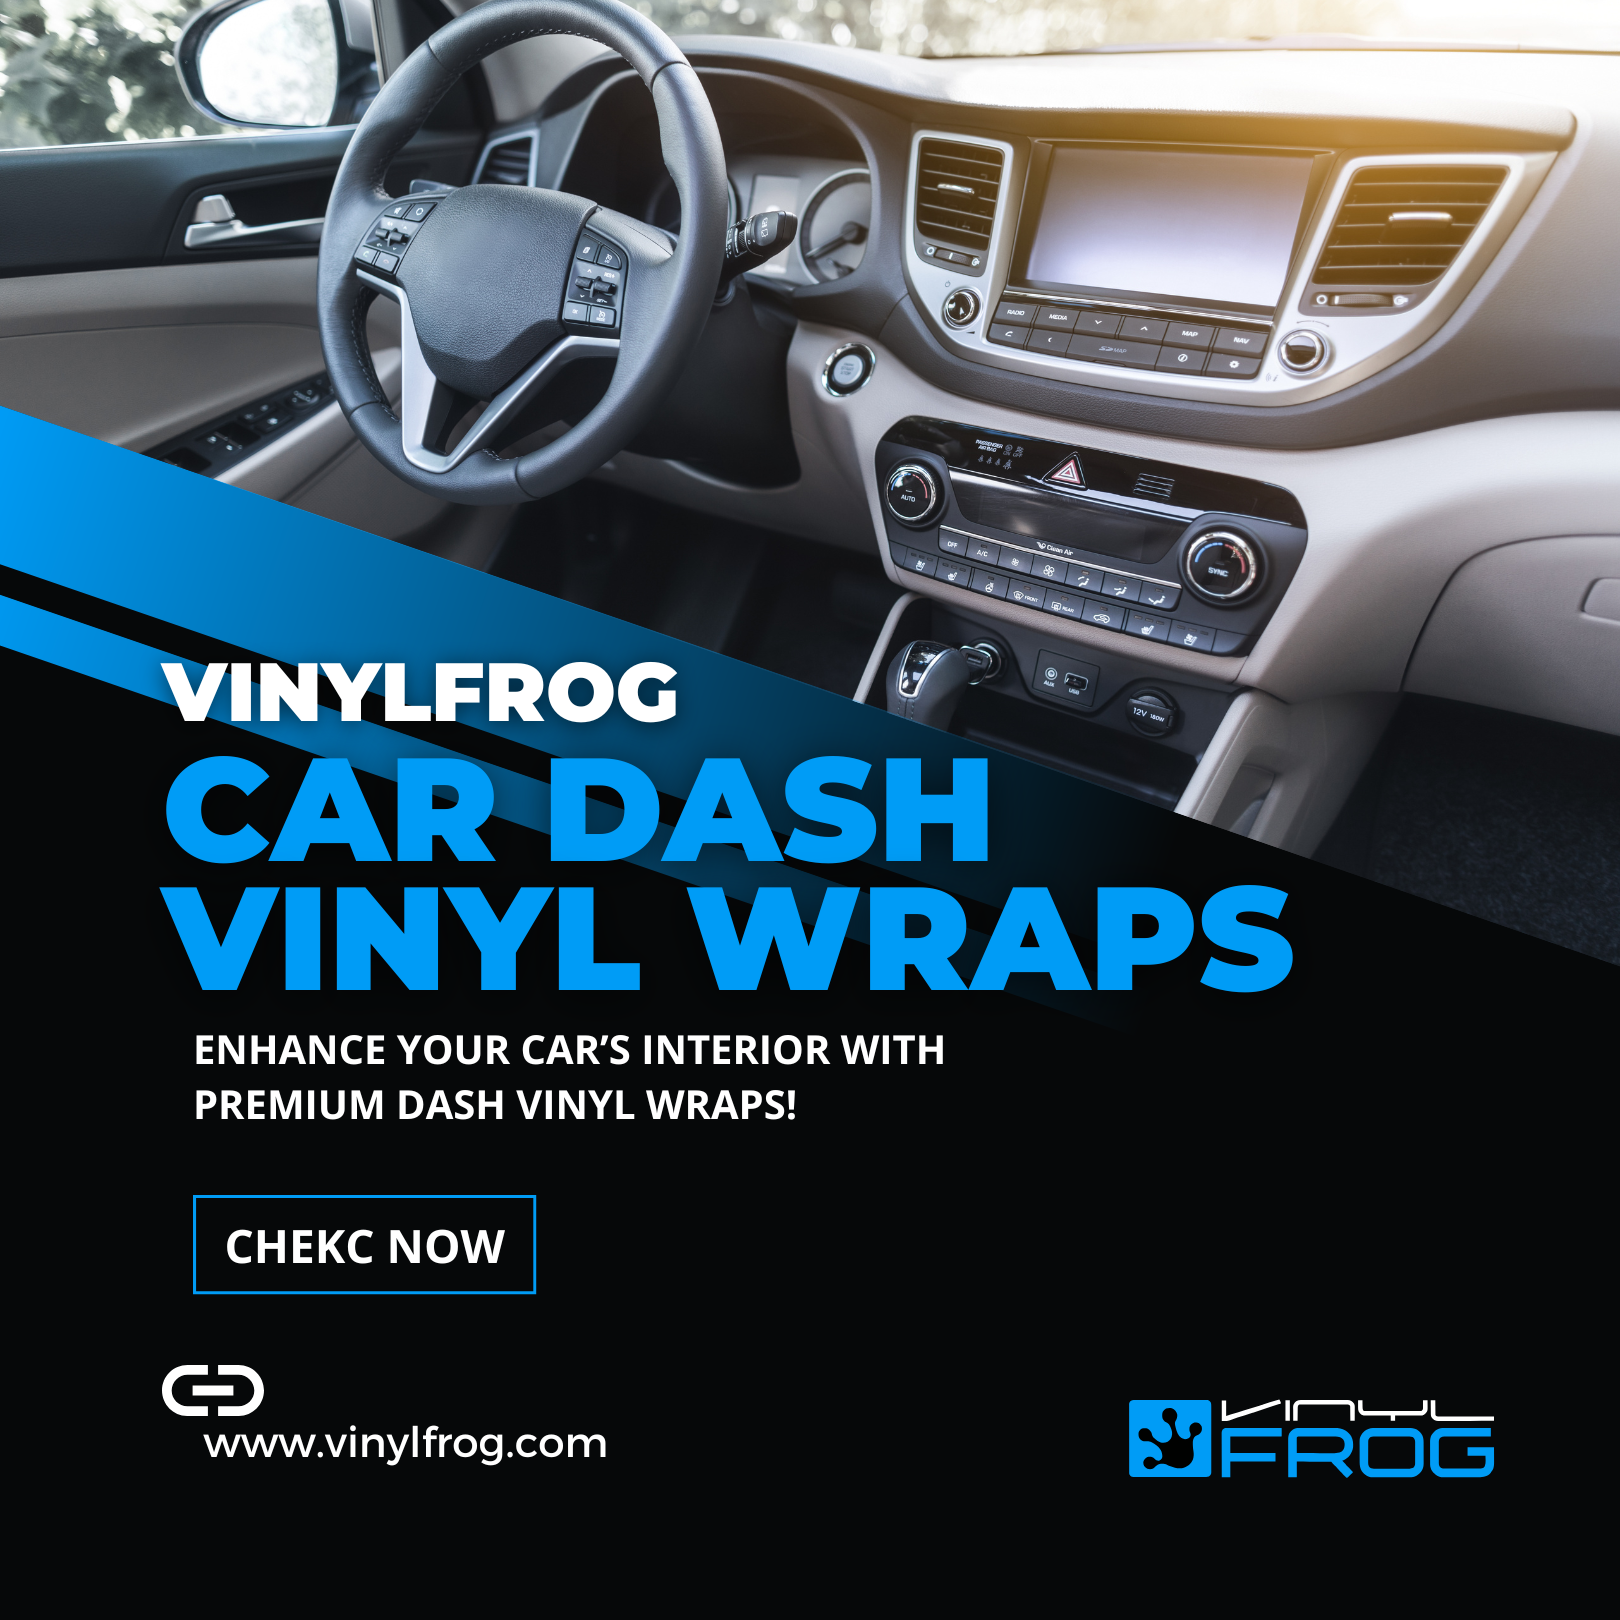
Vinyl Dash Wraps
- Measure the area that you want to transform with a vinyl film and cut the wrap accordingly keeping an inch extra from all sides.
- If you are applying vinyl to the interior trim, remove it completely for ease.
- Clean the area thoroughly. There should be no dust or debris on it. If you waxed the interior cabin of your vehicle, make sure it is cleaned thoroughly as we do not want any grease on the surface as well. You can use isopropyl alcohol and water solution and a clean microfiber cloth to be thorough.
- Once the area is dry, remove the backing from the vinyl and apply it to the surface. Apply a squeegee to smooth it out. Anytime you need to wrap around a curve, apply a little heat to the vinyl to make it flexible and adhere for a flawless finish.
- You have successfully wrapped the interior of our car. You can now reinstall the trim.
Frequently Asked Questions
HAVE ANY OTHER QUESTIONS?
Feel Free To Leave Your Questions To Us. We Will Reply You Within 24 Hours!
The Final Word
Wrapping your car is an excellent decision both in terms of aesthetics and durability. You can customize your ride and add a personal touch to its overall look by wrapping selected car parts in different shades.
For example, wing mirrors and door handles can be wrapped in chrome black. Bumpers can be wrapped in matte black and so on. It all depends on your creativity.
It is integral to protect your car wrap to get the most out of your investment. Keep your car away from excessive sun exposure, and abrasive chemicals, and refrain from waxing the wrap as well. If you make sure to take the necessary precautions, your wrap will last you years and maintain its glamor!
Related Posts

The Phenomenal SEMA Show 2024 – A Recap!

How To Remove Bubbles From Vinyl Wrap?
