

Updated By Vinyl Frog On August 23, 2024
How To Vinyl Wrap A Car

Are you geared up to begin the wonderful journey of vinyl wrapping your car and giving it an exquisite makeover? That is an excellent decision. A lustrous, gleaming vehicle in an alluring shade is always a source of great intrigue and fascination. It wins huge applause and becomes the talk of the town with many others following suit.
Applying vinyl wrap, however, is a tedious task especially if you are doing it yourself and are not very adept in it. It needs meticulous preparation and extensive knowhow to do a flawless job and avoid wastage of the vinyl. We, at Vinyl Frog, present to you the detailed step-by-step guide on how to wrap your cherished set of wheels with the premium quality calendared vinyl like a pro. Follow the guide and you would not go wrong.

Tools Needed To Vinyl Wrap Your Vehicle
Every job requires a set of tools that come in handy for doing it well. Having the right paraphernalia for vinyl wrapping is of utmost importance. You should have the following tools to apply vinyl to your car ensuring perfection:

- Supreme Quality Vinyl: This is the first and the most important thing that you should research on. What color and texture of the film do you want and where to buy it from? Read reviews and do not compromise on the quality of the film for saving a few bucks. The longevity of the vinyl and its performance depends on how good it is.
Vinyl Frog offers the best vinyl films that money can buy. They are highly coveted and have numerous greatly satisfied and loyal customers. You will find a wide variety of vinyl films here as well in countless shades, each so luscious and beautiful that you will be spoilt for choice. You can also get any surface texture that you want. - Measuring Tape: It is important to have a measuring tape as you will have to measure the different parts of your vehicle and the vinyl to avoid wastage and ensure correct installation.
- Cutting Blade: This helps in cutting the vinyl according to the measured part of the car. At Vinyl Frog, we have state of the art wrap cutters and knives for this purpose that will do the job perfectly.
- Surface Cleaner: It is important to have a surface cleaner to clean the exterior of your vehicle. Vinyl doesn’t adhere well to dirty surfaces. You can use any good cleaner available in the market or make one at home with isopropyl alcohol. This is mixed with water in 2:1 proportion and put in a spray bottle.
- Microfiber Cloth: This is needed to clean the vehicle as it is gentle, scratch resistant and lint free. It works better than other abrasive materials. Clean the surface and use this to dry it. It effectively removes water and dust.
- Heat Gun: A heat source is required to ensure strong adhesion of vinyl to the car’s surface. Heat gun is the best for this. It is a lightweight device that emits hot air. It has different levels of heat settings and can make the process more efficient and fast.
- Infrared Thermometer: We have to be very careful not to overheat the vinyl. Maintaining the right temperature can be done by checking it with an IR thermometer. The one available at Vinyl Frog is known for its accuracy. You can find out the temperature correctly and quickly.
- Small Magnet: When placing the vinyl on the surface, there has to be something that can hold it so one can gauge whether the placement and the size are correct or not. This is done by small strong magnets. THey are very handy and useful tools that you can easily get from Vinyl Frog.
- Squeegee: This is an important tool in the arsenal of any vinyl professional. It helps in smooth application of the vinyl by removing creases. It also helps in applying pressure to facilitate the adherence of vinyl on the surface. At Vinyl Frog, you can get squeegees of different sizes so you can buy the one that will do the job best.
- Knifeless or Cutting Tape: The tape helps in cutting vinyl films neatly in clean lines without damaging the surface. You can get uniform cuts with it when applying vinyl near wide gaps between doors, fenders and rubber moldings.
- Wrapstick Flex: This helps in tucking vinyl around the edges and curves. It has a long and flexible tail end. Consider it a tiny squeegee pen that is very useful when applying vinyl.
- Clay bar or Nanoskin Autoscrub: This is used to remove embedded contaminants from the surface. It also helps to degrease the surface of the car.
- Masking Tape: It is good to have a masking tape as well since it helps in protecting areas where vinyl film is not to be applied.
- Gloves: Last but not the least, you have to protect your hands from any kind of damage and the vinyl from getting your finger marks on it, hence it is very important to wear gloves. At Vinyl Frog, you will find special gloves in different colors to help during the process.
Important Factors To Consider Before Vinyl Wrapping
Before starting the process, you will have to take care of certain factors that are highly important. Prep is the key to having a great vinyl wrap. These are:

- Vinyl wrapping is a time consuming task that requires a lot of patience and meticulous attention to detail. The job requires anywhere from a couple to a few days to complete.
- It is also not a task for a single person. You need at least one more pair of helping hands for the process so that both time and vinyl are not wasted.
- You should have proper space to carry out the process. Vinyl has to be applied at a place that is free from dust and can keep your car protected from the harsh elements of weather such as a garage. Even a little dust can ruin the finish of the vinyl wrap. There should be no sunlight and the temperature should be controlled as well. It should neither be too hot nor too cold. The car will stay there till the vinyl has completely healed so don’t rush to take it out on the road.
- Proper storage of your vinyl film rolls is also very important. They should not be exposed to heat sources such as radiators, heaters or direct sunlight. Do not keep them in a humid environment. Keep them vertical. After you are done with the vinyl, make sure it is tightly wound around the core and stored properly as mentioned.
- This is not necessary but it will help to keep a white board in the garage on which you can write the measurements of all the different parts of your car that have to be wrapped with vinyl so that the information is right there in front of you when you have to see it.
Preparing The Vehicle For Vinyl Wrapping
This is the most important step on which the final look of the vinyl and its longevity will largely depend. The vehicle has to be completely clean. There shouldn’t be any speck of dust, contaminant or grease on it. Here is what should do to prepare the car:

- The imperfections in a car such as dents, dings or scratches that can ruin the final look of the wrap have to be fixed. Rust and peeling paint also have to be taken care of. Inspect the car thoroughly. Wherever you find any problems, circle that area with a marker to be taken care of. Sanding the area and using a body filler and primer is recommended to make it completely smooth. The exterior has to be in impeccable condition.
- Wash the car completely with two buckets one for the body and the other for the wheels, using a mild detergent. Wash it top down and use a separate sponge or brush for the wheels. Be thorough and wash the nook and crannies too. Don’t forget to clean under the wiper blades. Try to get in everything where you think the dirt is going to be.
- Once the car is washed and rinsed we move onto the next step. Make a solution of dish soap and water, spray it on an area of the car and use a clay bar to wipe over it. This way, we will wipe the whole car and rinse it with clean water. Dish soap is an excellent degreaser on the budget. It also makes the surface smooth. If you want, you can buy grease and wax cleaners from the market to clean the surface. Dry the whole car using a microfiber cloth.
- Lastly, spray isopropyl alcohol and water mixture and clean the surface with a microfiber cloth to remove any last traces of contaminants. The car should be completely clean and dry before vinyl is applied to it.
Tip: It helps if the drip sill trims and gas cap are removed as most of the dust and other contaminants build up here and cleaning for vinyl wrapping becomes easy if these are not in the way.
Caution: Do not apply any polish or wax as it will not allow the vinyl to adhere. The car has to be completely grease free.
The Squeaky Finger Test
Finally, do the squeaky finger test to ensure that the car is completely prepared. Slide your index finger across the surface. If it squeaks, you’re good to go. If it slides easily, this means there is grease on the surface and you need to clean it again. To prevent further contamination, apply the vinyl as soon as possible after the vehicle has dried.

Tip: Since your car's surface and the working area are clean now, it is time to wear your gloves.
Measure The Different Parts Of The Car And Cut The Vinyl
Accurate measurement of the different parts of the car that are to be wrapped in highly imperative. Write down the measurements on the board. (We suggested having a white board in the garage where you are wrapping.
You can even sketch a rough diagram of the car to be very sure about the different parts the measurement represents. Take the dimensions twice for accuracy. This is an important step and you do not want to get it wrong.

Once you are sure about the measurement, cut the vinyl sheet from the roll. It should be a few inches bigger than the dimensions written, at least four to six inches extra on either side. Do not cut the vinyl on the floor as we do not want it to get damaged or contaminated in any manner, Do it in a smooth, clean and dry place.
Apply The Vinyl To The Different Parts Of The Vehicle
Now it is time to apply the vinyl to different parts of the vehicle. You will need helping hands for this step. If you are a newbie or less experienced in installation, begin with the small, flat, less challenging surfaces like the doors or the trunk lid before moving on to more challenging ones. This will make you more confident.

Carefully remove the backing paper while applying equal tension to the film. This way less wrinkles and creases will appear. Position the vinyl over the surface making sure some extra is left around all edges for manipulation. Drape the film over the panel while pulling both sides of the vinyl away from each other to create tension. You will need another person’s help in this step.
Start working outwards from the middle section. Gently press the vinyl into the center of the panel while keeping tension on the rest of the sheet. The vinyl will stick to the surface but it won't be permanent as it is engineered to adhere under specific amounts of heat and pressure. You can easily reposition it so don't fret.
Removing Creases And Wrinkles From The Vinyl
This is where we need the squeegee. Hold it at roughly 45° angle and from the center, press the felt-edged squeegee against the vinyl. Work in strokes and push towards the edges of the panel. This will force out air and fingers in the vinyl. Every swipe should overlap the preceding one to ensure all air is removed.
Tip: Use a squeegee that has both a hard side and the felt side. Do not use the hard side for removing creases as it can damage the vinyl. It is basically for sticking vinyl into crevices. For smoothing out creases always use the felt side of the squeegee.
Remove Imperfections
When applying the film, the vinyl is bound to have some imperfections. These can be removed easily. For this, simply lift the vinyl up from the edge and keeping it taut, apply heat until the imperfections disappear. Place it back on the surface with one hand and use a squeegee over it with the other to press the film down. Do not lift the vinyl from the place where it is already smoothed out.

Applying Vinyl On Curves
Curves can be a bit intimidating while applying vinyl as you will have to face creases. Here you might have to reposition the film until you get it right to remove creases. You might have to heat the film a bit to soften it, make it pliable and wrap it around the shape. The temperature should be no more than 120°F (80°C). Gently stretch the film and put it in place.

There will come a point when the wrinkles will be no more than crow’s feet. All you have to do is lift the film slightly and apply heat until wrinkles shrink, then re-apply the vinyl on the surface. Use a squeegee on the remaining minor wrinkles for a smooth look.
Caution: It is imperative to manage the heat at this point. Overheating the vinyl can damage the film and it may lose its shine. It is better to apply the recommended temperature for the film.
Making Seams And Hiding Butt Joints
It is possible to apply vinyl wraps without any seam but at times you cannot help it. For making perfect seams, a knifeless cutting tape with multiple filaments will come in handy. Here’s what you can do:

- Stick the knifeless tape on the surface in a straight line where there has to be a seam.
- Apply the vinyl and smooth it out removing wrinkles.
- Once it is perfectly done remove one of the filaments of the tape, then remove the excess vinyl.
- Next place the second piece of the vinyl overlapping the first one by quarter to half inch. The key is to place as little tension on the butt joint area as possible.
- Pull the material flat without heat and lock it in place. Squeegee the film firmly onto the surface to ensure proper bonding.
- Now pull the filament of the knifeless tape perpendicular to the surface.
- Remove the thin strip of excess film of the second layer of vinyl. Lightly squeegee the edges together.
- Apply heat and use a gloved finger to seal the two sheets perfectly together.
Tucking Around The Edges
We are nearing the finishing line now. It’s time to tuck in the edges and corners. Trim the extra sheet on the edge using a cutting blade leaving 10-20mm margin. Use a heat gun to heat the edges so that they soften and the adhesive is activated. Pull the vinyl taut to avoid wrinkles and stretch it under the edge. Firmly seal the edges to the panel of the car. Use a squeegee or a Wrapstick flex to secure its adherence.

Caution: Take care that the wrap is firmly adhered to the panel without any loose material. In such a case, the integrity of the edge will be ruined. Use a squeegee to firmly stick the vinyl along the edges.
Wrapping Around The Corners
Corners are difficult to wrap because the vinyl can bunch up there causing creases in the film. For wrapping the film around the corners, you can use the cold pre-stretch method. In this, you lift the vinyl up slightly, about 3cm, from the surface and stretch it from the corner to create tension and tuck it under. Remove any creases or wrinkles on the way.

At this point we have to apply heat so the vinyl can have the memory effect. With heat, it shrinks back forming a perfect corner. Apply squeegee and after securing the vinyl and ensuring perfect adherence under the edge of the corner, you can cut the excess film off. Push to make sure the edge is all locked in and apply heat again for a final touch.
Tip: Cut the vinyl as evenly as you can. This process needs patience and a steady hand. It is time consuming so do not rush.
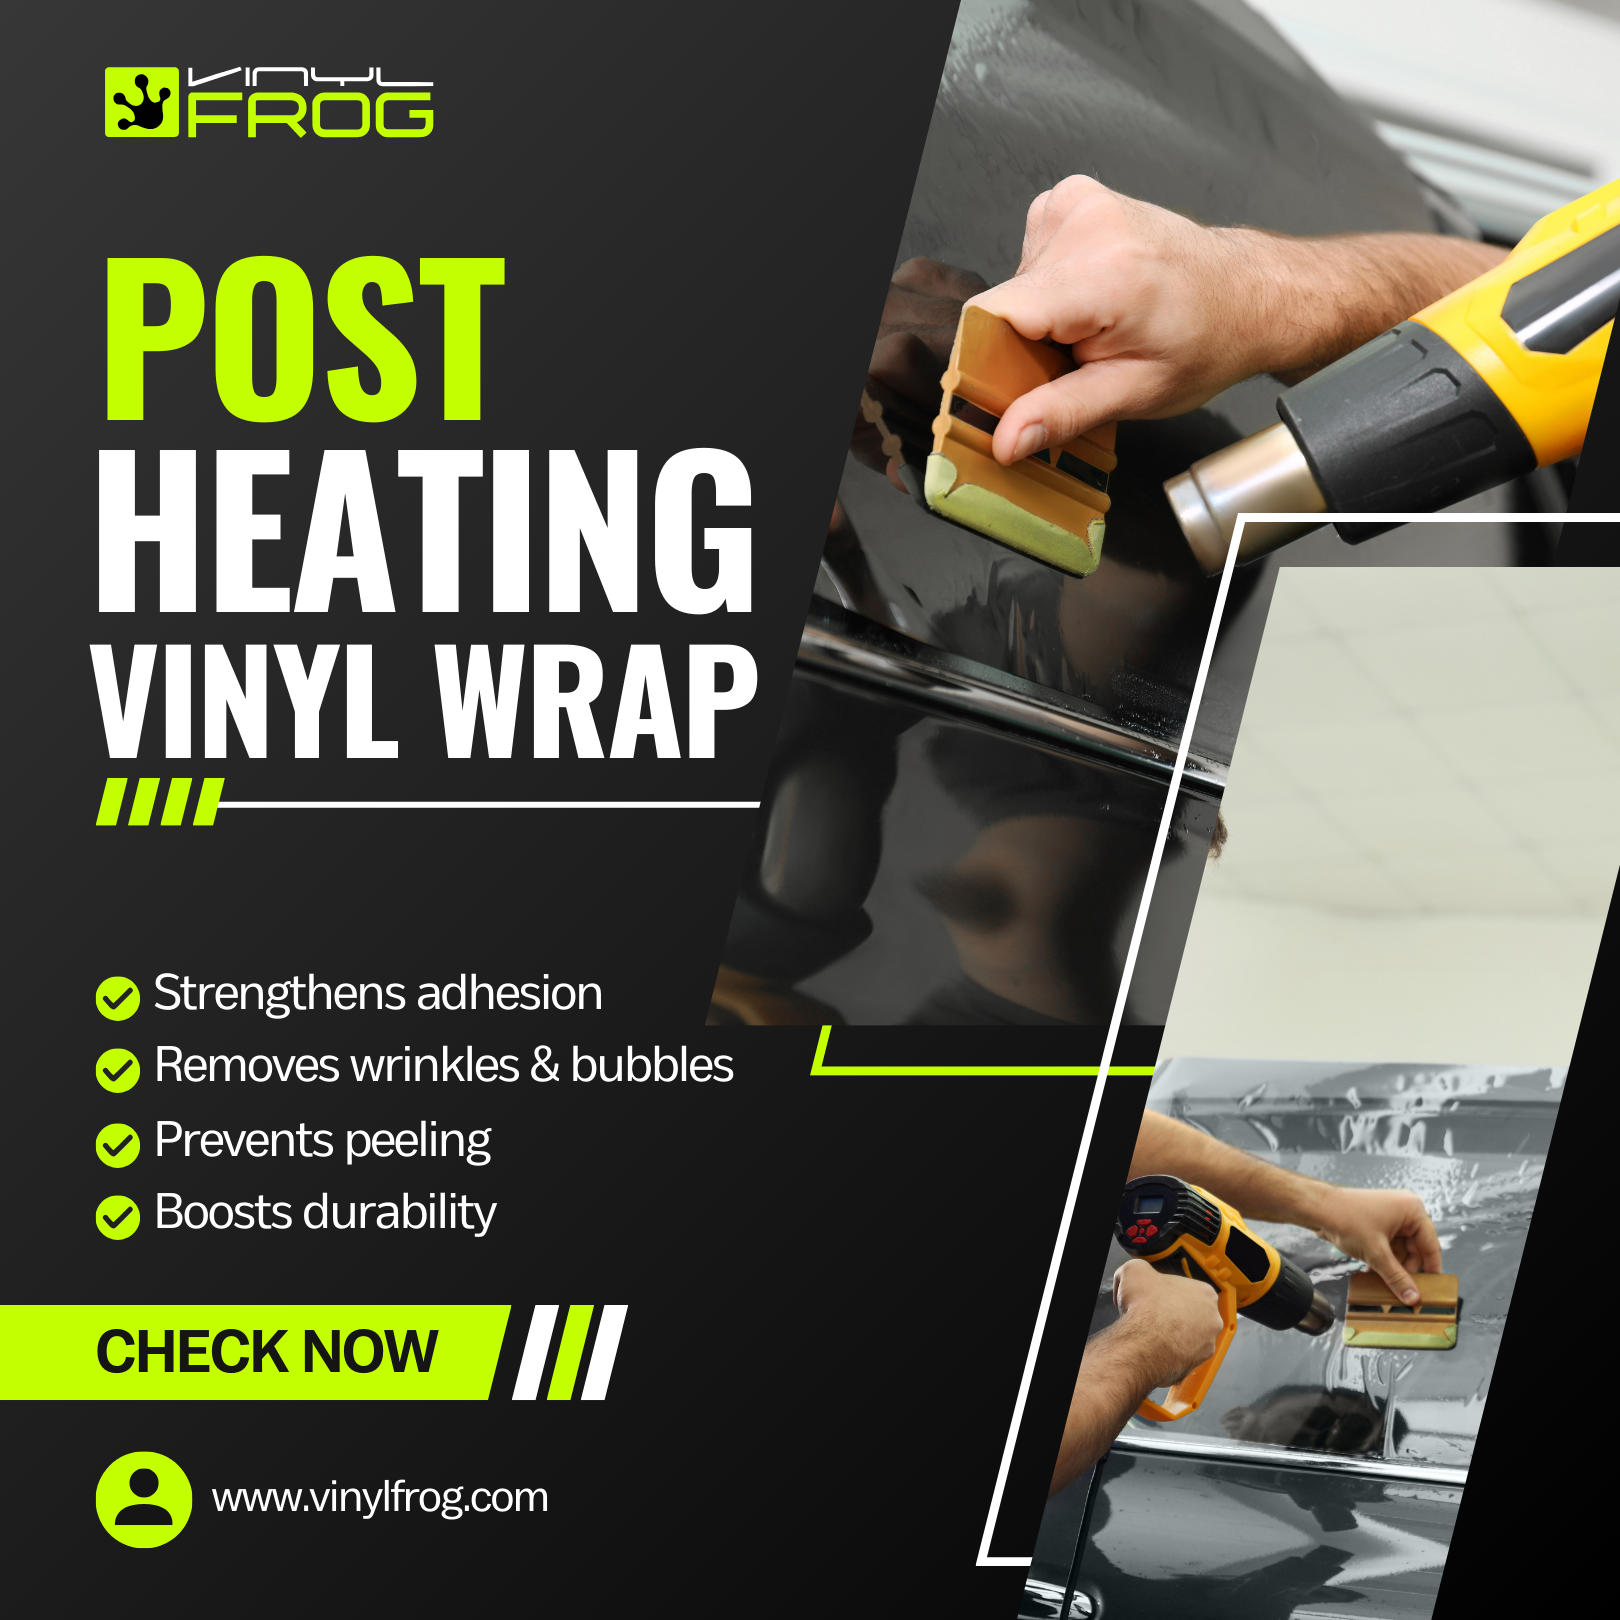
Post Heating The Vinyl – The Final Round
Everything is set as you want it. It is now time to give the vinyl a final round of heating. Heat activates the adhesive and makes it high tack securing the vinyl firmly to the surface of your car. All areas, especially the ones where the vinyl has been stretched, the trimmed edges and the corners should be post heated.

Do not forget areas where the vinyl has been overlapped. The temperature should be at least 212 °F. In order to be sure, check the temperature recommendation for the vinyl you are using. They can be different. Keep the heat gun six to twelve inches away and move it in sweeping motions covering six to eight inches of vinyl.
Keep doing so until the required temperature is achieved. While heating use your gloved hands and a squeegee to firmly bond the vinyl wrap to the surface. Use a thermometer to verify even heating of all areas.
This is the final step and once you do this, you cannot reposition the vinyl. You might encounter bubbles at this stage. Do not fret. Simply pop them with an air release pen and smooth the vinyl out with a squeegee. After the final heating, the adhesive forms a secure bond with the vinyl. Once the heat is applied evenly, give the vinyl 24 hours to set and cure.
Do Not Overstretch The Film
Take care not to overstretch the vinyl during application as this can distort the finish and color of the film. It can make a gloss film matte and vice versa. The place where the film has been stretched more than necessary can also discolor and be of a different shade than the overall vinyl.
Apply The Correct Squeegee Pressure
Applying the correct pressure with the felt side of the squeegee is very important. It can neither be too hard nor too little. You will have to find the right balance. Put the thumb in the center of the squeegee and apply firm pressure to let the air out. Also, do not smooth out with the corner of the squeegee otherwise you will leave friction marks on the vinyl film.
Do Not Leave A Lot Of Film Around The Edges
When more film is left near an edge, it might not stick to the underside as it should. Some of it stays hanging. It doesn’t look good and might jeopardize the integrity of the vinyl.
Frequently Asked Questions
It’s Time To Start Wrapping
Vinyl wrapping the vehicle to completely transform its look is gaining quite a popularity. Being cheaper than a paint job and more eye catching, vinyl wraps are high in demand. You can easily install a wrap on your vehicle if you follow the steps mentioned here. You will have a vehicle that not only looks great but is also able to maintain the captivating facade for a long time.


